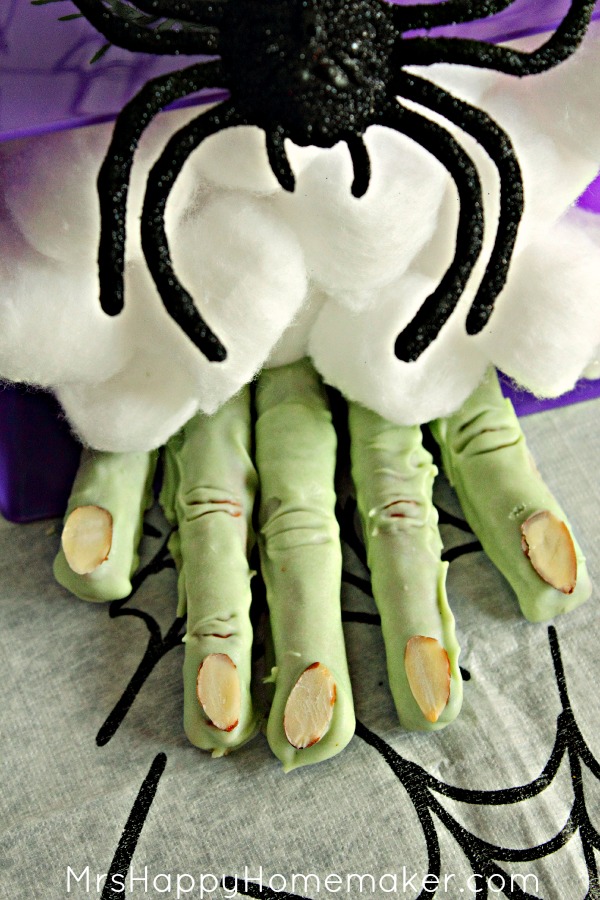
Easy Monster Fingers
These Monster Fingers (or you can call them Witch Fingers!) are so super easy! They’re spook-tacular, and are the perfect Halloween treat!
I really am someone who loves Halloween. But maybe not for the reasons you think.
My top 3 favorite things about it are as follows:
- Halloween movies on tv – my favorite of all being Hocus Pocus (I’ll put a spell on you….)
- Spooky foods to make at home (like these awesome Monster (or Witch!) Fingers
- Stealing my kids trick-or-treating candy – like all good parents should do. They don’t need those cavities, right?
Well, today I’m not sharing number 1 or 3 with you – but going right for the middle. That’s right – spooky food!
I’m going to give you a tutorial on how to make these spook-tacular Monster Fingers! Or, you can name them Witch Fingers. Whatever, it doesn’t matter! They’re SO easy to make, so let’s get started!
Here’s what you need:
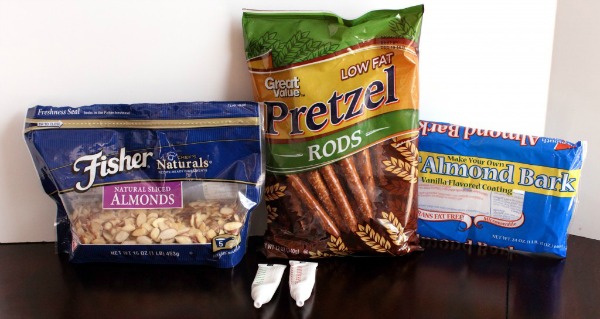
Depending on how many fingers you’re making, that will determine on how much almond bark you need. I made 30 fingers so I used 8oz of almond bark. The pretzel rods were 6 inches long, so I broke them in half. It doesn’t half to be perfect! After all, when’s the last time you saw a monster with a perfect manicure? 😉
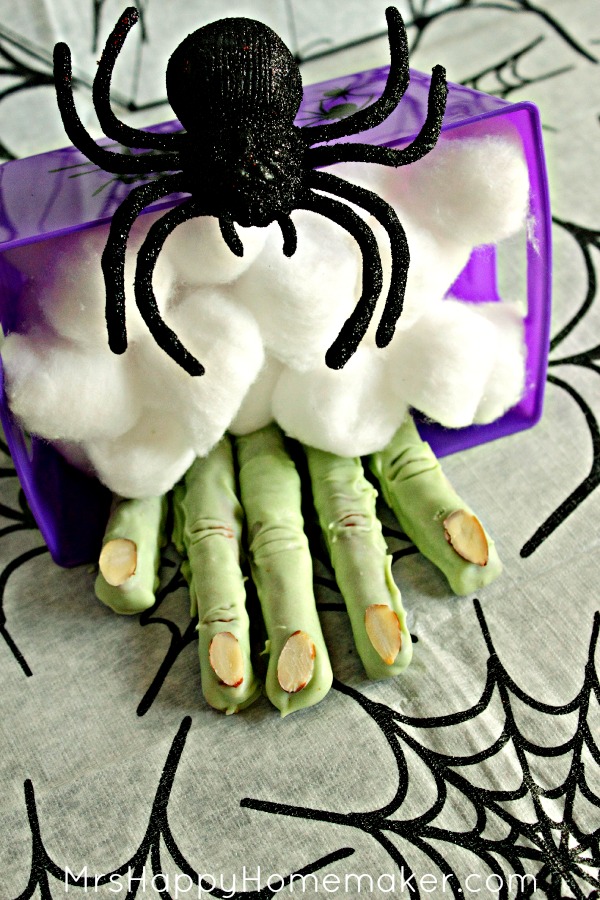
If you make some a little shorter/longer than others – then you can rearrange them at the end of the process to make ‘hands’.
Melt the almond bark according to the package directions.
Add the food coloring with a 7:1 ratio. For example, for the 8oz of almond bar that I used – I added 14 drops of green & 2 of red of the gel food coloring.
Roll the now broken pretzel rods one at a time in the colored & melted bark. Coat them thoroughly all over, then use a fork to pick up. Using the fork, hold it over the bowl to allow the excess almond bark to drip off.
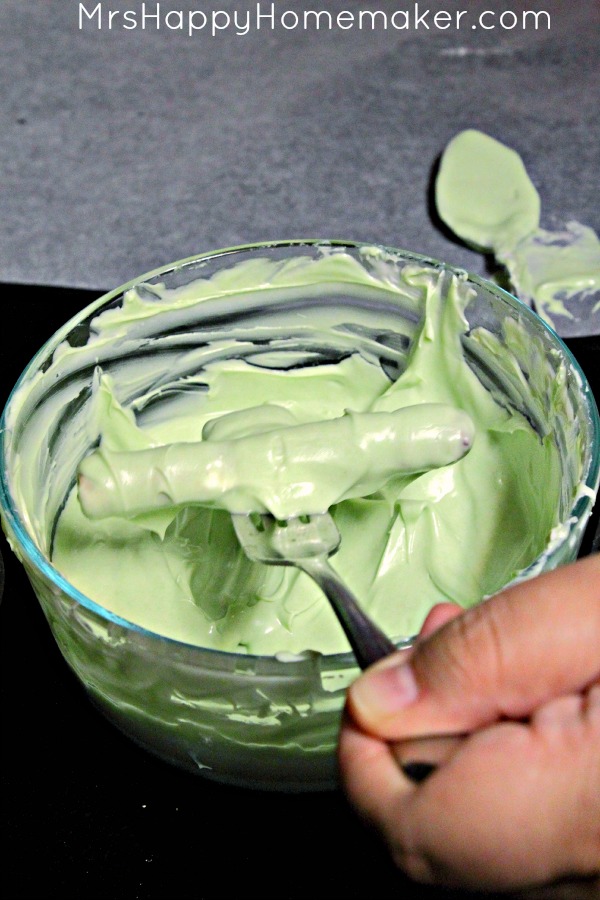
Roll the now broken pretzel rods one at a time in the colored & melted bark. Coat them thoroughly all over, then use a fork to pick up. Using the fork, hold it over the bowl to allow the excess almond bark to drip off.
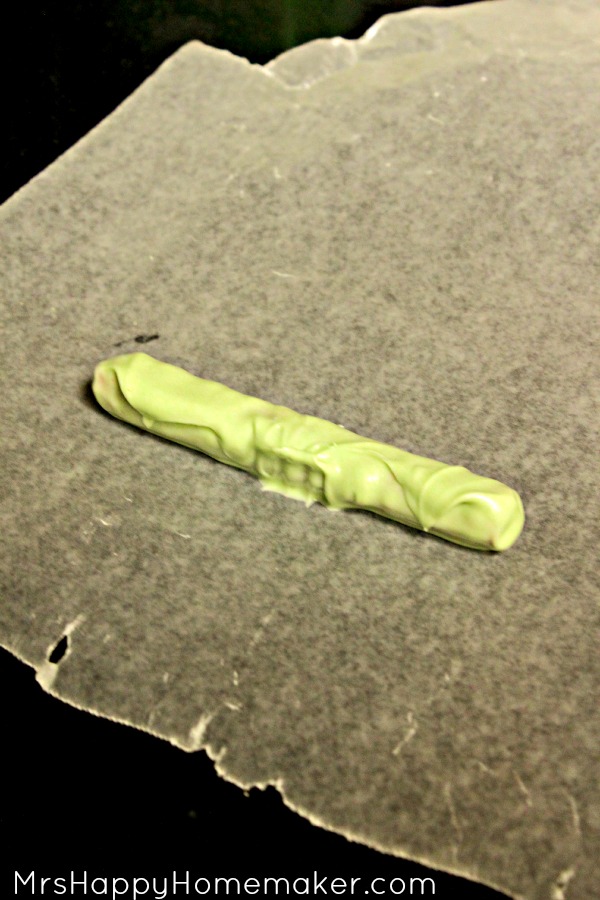
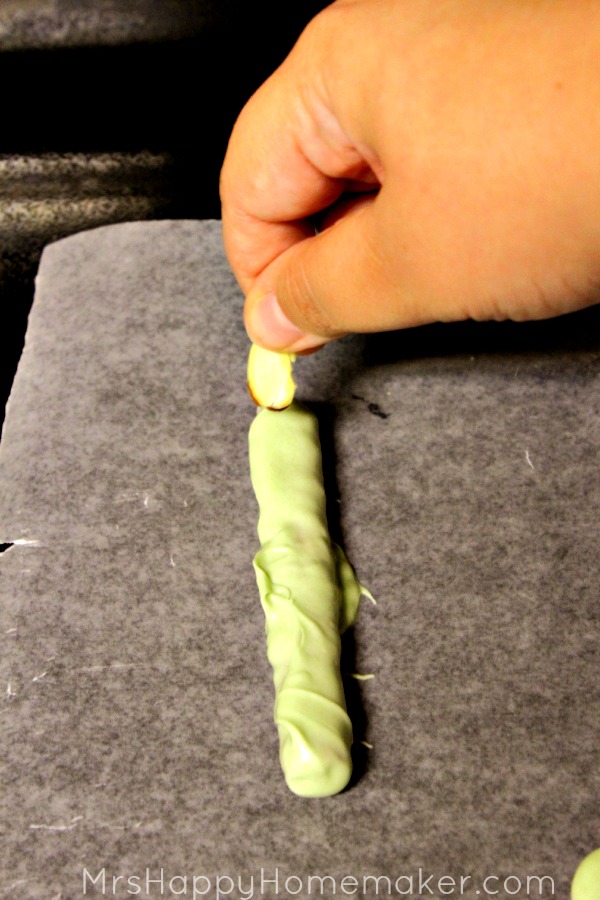
Apply a sliced almond sliver on the end of the pretzel rod while the coating is still un-set.
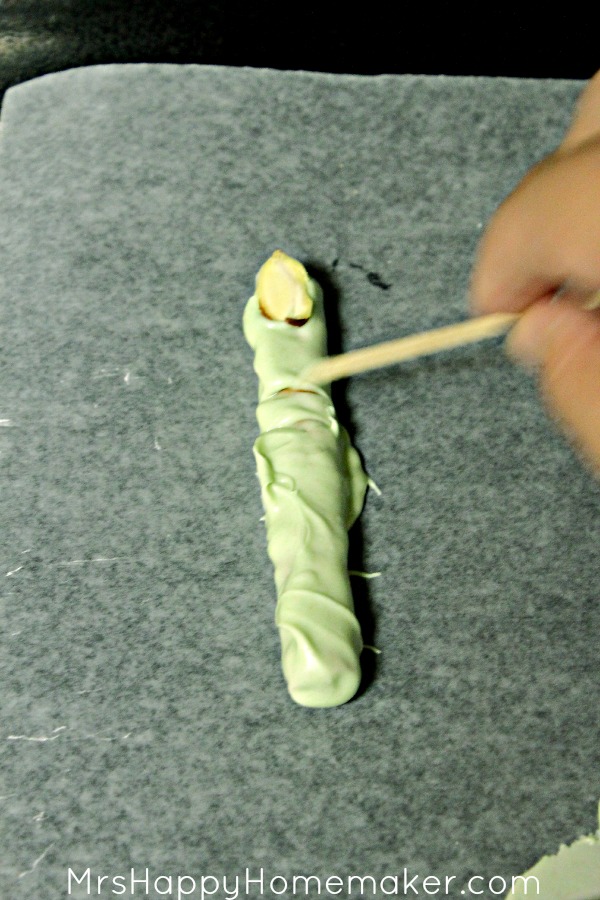
Before making the knuckle lines, allow the pretzel rod to sit about 2 minutes. Using a toothpick, make 3 lines in the middle of the ‘finger’. I started with a straight middle line, and then curved the top & bottom lines – sort of like a parenthesis with the straight line in the middle. After you draw each line, wipe off the toothpick with a paper towel for the best results.
Let the Monster Fingers set completely before serving/storing.
Easy Monster Fingers
Ingredients
- Almond bark
- green food coloring
- red food coloring
- pretzel rods
- thinly sliced almonds
Instructions
- Depending on how many fingers you're making, that will determine on how much almond bark you need. I made 30 fingers so I used 8oz of almond bark. The pretzel rods were 6 inches long, so I broke them in half. It doesn't half to be perfect! After all, when's the last time you saw a monster with a perfect manicure? 😉
- If you make some a little shorter/longer than others - then you can rearrange them at the end of the process to make 'hands'.
- Melt the almond bark according to the package directions. Add the food coloring with a 7:1 ratio. For example, for the 8oz of almond bar that I used - I added 14 drops of green & 2 of red of the gel food coloring.
- Roll the now broken pretzel rods one at a time in the colored & melted bark. Coat them thoroughly all over, then use a fork to pick up. Using the fork, hold it over the bowl to allow the excess almond bark to drip off.
- Apply a sliced almond sliver on the end of the pretzel rod while the coating is still un-set.
- Roll the now broken pretzel rods one at a time in the colored & melted bark. Coat them thoroughly all over, then use a fork to pick up. Using the fork, hold it over the bowl to allow the excess almond bark to drip off.
- Before making the knuckle lines, allow the pretzel rod to sit about 2 minutes. Using a toothpick, make 3 lines in the middle of the 'finger'. I started with a straight middle line, and then curved the top & bottom lines - sort of like a parenthesis with the straight line in the middle. After you draw each line, wipe off the toothpick with a paper towel for the best results.
- Let set completely before serving or storing.


Those are super cute! I am going to have to make some of these next year or if I have time — this year for sure!
These are neat! Thank you for linking up to Party Time and we hope to see you again next week!
SUPER spooky! I love it
Pingback: Freaky Fun Food Ideas | I'm Lovin it | TidyMom